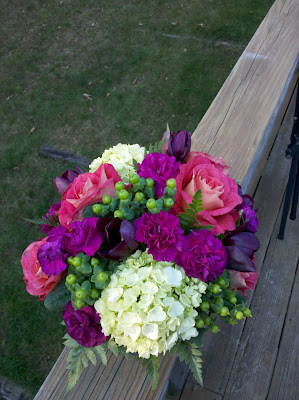
For this arrangement, I decided to use fake flowers so it would last for the entire season. I love the warm colors and different textures that make up the wreath. See below on a step-by-step on how to make this arrangement:
1. For this design you will need the following: floral tape, floral wire, wire cutters, scissors, glue gun, grapevine wreath, berries, dried wheat, red, yellow, orange, and purple flowers, green/yellow leaves and red/orange leaves. I happened to get all of these materials at A.C. Moore.
When deciding on what size to buy the grapevine wreath, measure the width of your door and subtract 6 inches.
2. Gather the wheat and bunch together by putting half of the wheat facing up and the other half facing down. Wrap the center with floral tape to hold together. Wrap floral wire around the tape and angle the bunch in the lower left corner of the wreath. Make sure to leave enough wire at ends to wrap around the wreath. To position securely, wrap the wire tightly around the grape vine in a way that hides the wire.
3. Pick two large leaves to glue together at an angle and glue to the center of the wheat bunch. Cut one flower from the bunch (I used purple) and remove half of the plastic surrounding the wire. Stick into the grapevine and securely glue the flower on the leaves.
4. Glue in a bunch of berries to place in front of the leaves and in back of the flower.
5. I started by grouping three different colored leaves together and gluing them together in a fan shape. Once the leaves have been glued together, start gluing the leaves to the lower right corner of the wreath. Make sure to use them to cover the inner and outer parts of the wreath. To start the flowers I decided to bunch three of the smaller flowers together, followed by one large. Make sure to cut the flowers close to the base but be sure to leave enough wire at the end so the flower doesn't fall apart. Cover the entire bottom with glue for a strong hold.
6. Start to fill in spaces between the flowers with various colored berries. Be sure to glue these in place.
7. Continue to glue the leaves and flowers on the wreath, be sure to change the position on the various colors so they are both in the inner and outer areas of the wreath. I used four small flowers in the middle of the design so it wasn't all the same. After the next large flower follow by three small.
8. be sure to fill in spaces with the various berries and end the design in the middle of the wreath so it aligns with the lower half.
I had a lot of flowers left over so I made an arrangement for the living room and dining room. The large arrangement on the kitchen table is too large if you have four people sitting at a table, but it's just me so I kept it large to fill up some space.
Be sure to make your arrangements for the kitchen table smaller than 14 inches so you can see everyone easily.


